
[ad_1]
Do you want to switch from Gumroad to WordPress?
Gumroad is an online marketplace where users can sell digital goods. From games to music to courses and videos, Gumroad used to be a good eCommerce platform for creators. However, many users are looking to switch from Gumroad to WordPress because they have raised their fees to 10% for each transaction.
In this article, we’ll show you how to easily switch from Gumroad to WordPress, so you can grow your online business without the Gumroad tax.
Why Do You Need to Switch From Gumroad to WordPress?
Gumroad is a popular eCommerce platform that allows users to sell digital goods online.
However, they now charge a 10% flat fee on each sale. This 10% does not include credit card processing or PayPal fees.
Plus, an additional 10% fee is charged if a product is sold through the ‘Gumroad Discover’ feature, or their ‘Global Affiliates’ program. That’s a lot of fees.
On the other hand, WordPress is free and doesn’t charge you any fee for the items you sell.
Unlike Gumroad, WordPress gives you the freedom to sell anything online, including physical versions of your digital goods. Plus, you can use any payment gateway you want and promote your website freely.
To learn more, see our complete WordPress review with pros and cons.
Important: When we say WordPress, we are talking about WordPress.org aka self-hosted WordPress, and not WordPress.com which is a hosting platform. For more details, please see our article on the difference between WordPress.com vs. WordPress.org.
That being said, here is a quick overview of the things we’ll cover to switch from Gumroad to WordPress.
- What Do You Need to Switch from Gumroad to WordPress?
- Setting up Your WordPress Website
- Setting up Payment Gateway
- Importing Gumroad Products in WordPress
- Moving Subscription Products From Gumroad to WordPress
- Choose and Customize Your WordPress Theme
- Customize Easy Digital Download Emails
- Growing Your Business in WordPress
Ready? Let’s get started.
Step 1. What Do You Need to Switch from Gumroad to WordPress?
You’ll need the following things to switch from Gumroad to WordPress.
- A domain name – This will be your website’s address on the internet (e.g. wpbeginner.com)
- A web hosting account – This is where all your website files will be stored. All websites on the internet need hosting.
- Free Easy Digital Downloads plugin for WordPress
- 30 minutes of your time.
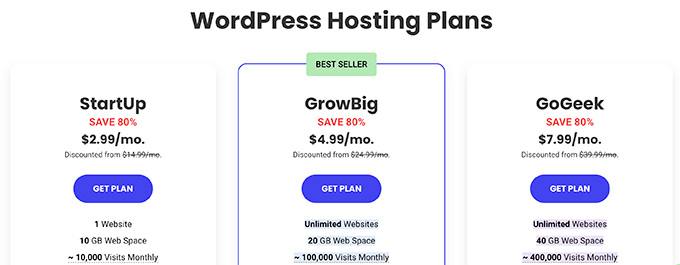
Normally, pricing for a web hosting account starts at $7.99 per month.
Luckily, the folks at SiteGround have agreed to offer WPBeginner users a generous discount on eCommerce-ready hosting.
Basically, you can get started for $2.99 per month.
If for some reason, you don’t want to use SiteGround, then you can also install WordPress on other hosting companies like Bluehost, Hostinger, and WP Engine following a fairly similar process.
Let’s go ahead and walk through how to purchase your domain, web hosting, and SSL certificate.
First, you need to visit the SiteGround website and choose a plan by clicking on the Get Plan button.
After that, SiteGround will ask you to enter a domain name for your website.
You can look up a domain name or if you already have one then you can add that as well.
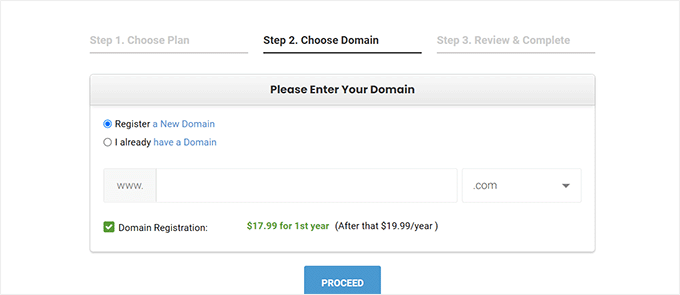
If you don’t already have a name in mind, then you can see our guide on how to choose the best domain name.
Lastly, you will need to add your account information. You will also be able to purchase some optional extras.
You can always add these extras at a later date if you decide that you need them. If you’re unsure then we recommend skipping this step.
You can now finish the setup by making the payment.
After that, you will get an email from SiteGround with a link to log in to your hosting account control panel.
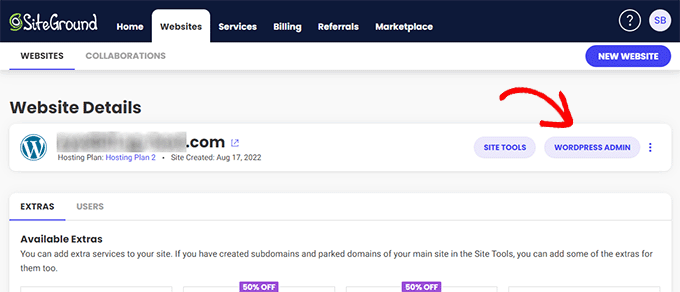
From here, switch to the websites tab and click on the WordPress Admin button next to your website.
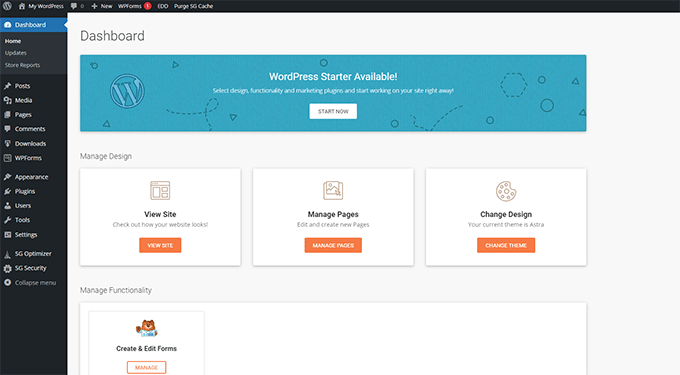
This will take you to the WordPress admin area of your website where you’ll notice Easy Digital Downloads pre-installed on your website.
Step 2. Setting up Your WordPress Website
By default, WordPress does not come with eCommerce shopping cart functionality.
If you followed our advice and signed up with SiteGround, then your WordPress site will now have Easy Digital Downloads installed which provides all the Gumroad features you’ll need to sell digital goods.
On the other hand, if you are using some other WordPress hosting provider, then you’ll need to install Easy Digital Downloads first.
Simply, install and activate the Easy Digital Downloads plugin. For more details, see our step-by-step guide on how to install a WordPress plugin.
Note: For the sake of this tutorial, we are using the free version of Easy Digital Downloads. There is also a premium version that comes with additional features and priority support.
Upon activation, you need to visit Downloads » Settings page in your WordPress admin area to set up your store.
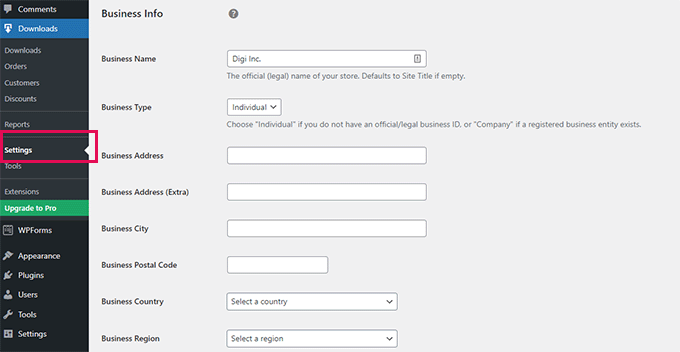
First, you need to provide a business name and type.
After that, enter your business address and country. This information is used for calculating taxes.
Finally, click on the ‘Save changes’ button to store your settings.
Next, you need to switch to the ‘Currency’ tab and select the default currency you want to use on your store.
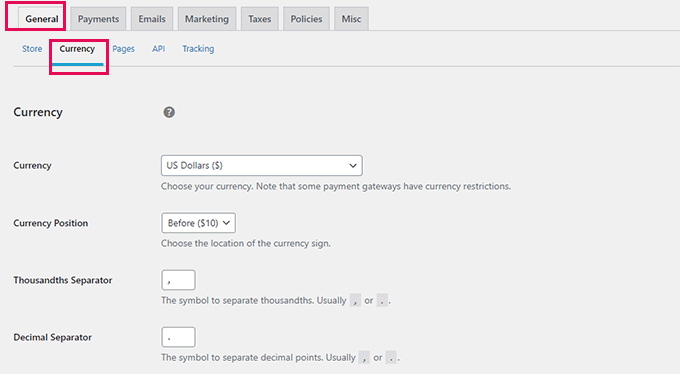
Don’t forget to Save your changes to store your settings.
Step 3. Setting up Payment Gateway
In order to accept payments online, you’ll need to set up a payment gateway provider.
Easy Digital Downloads supports PayPal, Stripe, and Amazon payment gateways by default. You can also add support for additional payment gateways using add-ons.
To set up payments, simply switch to the Payments tab under the plugin settings.
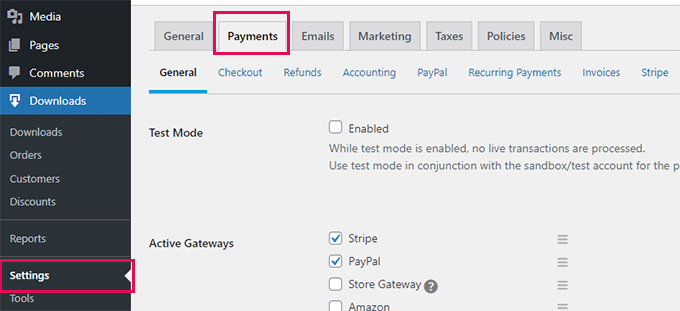
From here, you need to select the payment services you want to use. You can choose more than one payment service if you want.
We recommend using Stripe since it lets you accept credit cards from anywhere in the world.
After that, select a default payment gateway and check the payment method icons you want to display on checkout.
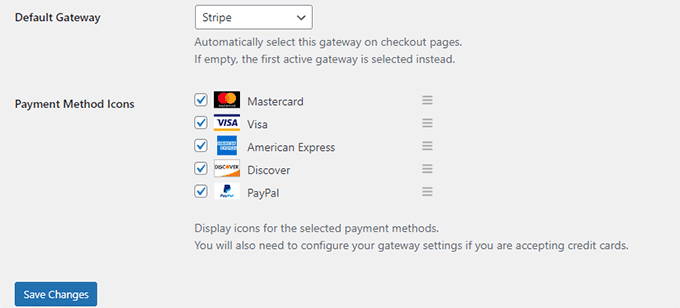
Finally, click on the Save changes button to store your changes.
After that, you need to click on the individual payment gateway tabs to configure them.
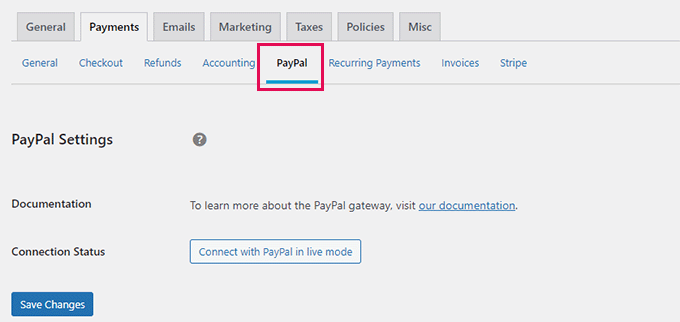
For instance, clicking on Paypal will show you a button to connect your PayPal account.
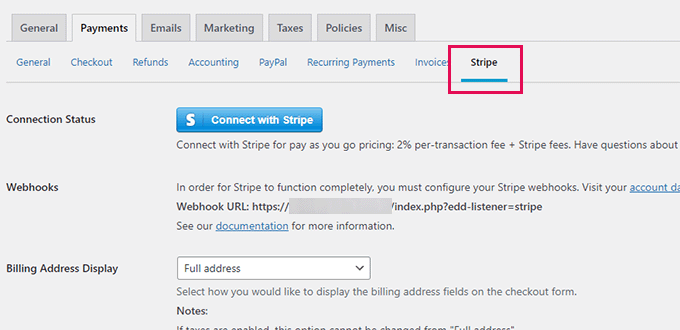
Similarly, you can switch to the Stripe tab and click on the ‘Connect with Stripe’ button to set it up.
Step 4. Importing Gumroad Products in WordPress
The next step is to import the products from Gumroad to Easy Digital Downloads in WordPress.
Unfortunately, Gumroad does not provide an easy way to export your product data in a WordPress-compatible format.
You’ll need to manually move your products from your Gumroad account to Easy Digital Downloads.
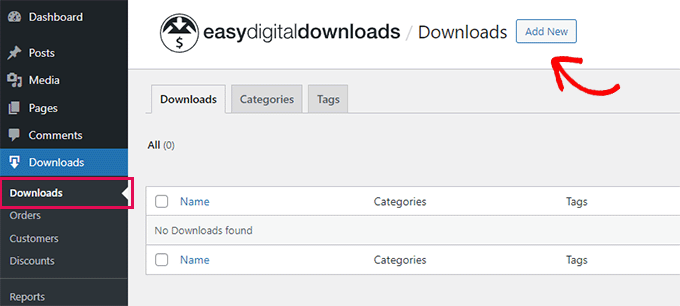
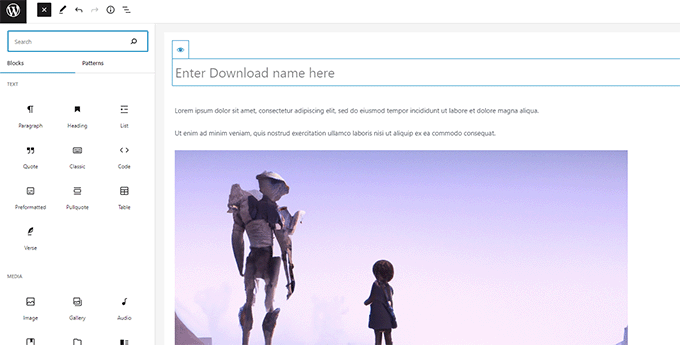
To create your first digital product, go to the Downloads page and click on the ‘Add New’ button at the top.
You can now type a name for your product into the ‘Enter download name here’ field. Below that you can provide details of your item.
Feel free to use images, videos, emojis, and text to write a compelling description. You can also just copy and paste the description from your Gumroad product.
Tip: Learn how to use the WordPress block editor to create beautiful content layouts.
You can also organize your downloads into categories and tags. This helps users browse and discover product downloads that interest them.
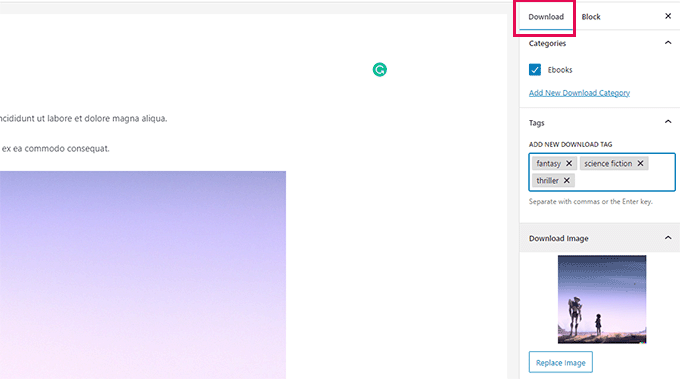
You also need to provide a download image, this will be the main featured image for your download and will be displayed in different locations on your website.
Feel free to use the image you used for your Gumroad product.
Below the editor, you will find the Download options. First, you can set the download price.
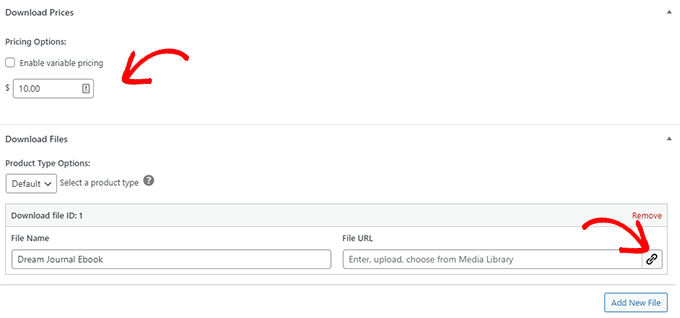
After that, you can choose the download type. EDD supports both single downloads and bundles as download types.
Below that, you can provide the download file name and then click on the Link button in the File URL field to upload your download file.
If you need to add more files to a bundled product then click on the ‘Add New File’ button to add them.
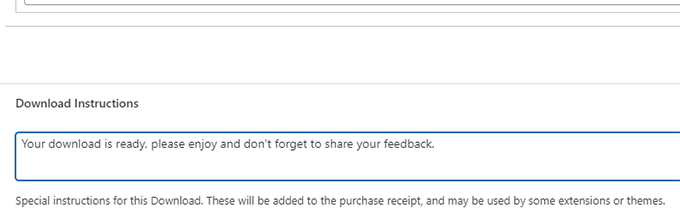
Finally, you can provide any optional download instructions or notes. These will be displayed on the purchase receipt and some plugins and themes may also use these instructions.
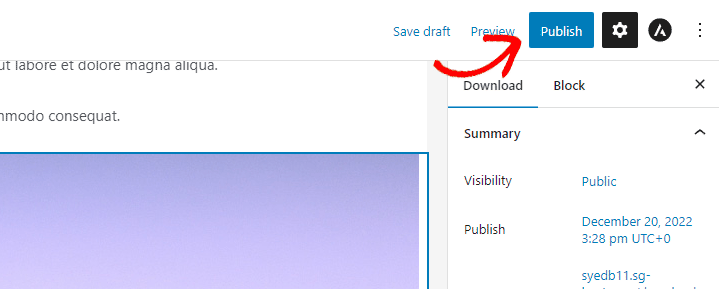
Once you are finished, simply click on the ‘Publish’ button at the top right corner of the screen to publish your download.
This will make your download publicly available for purchase.
Once published, you can click on the ‘View Download’ button to see your download product in action.
Here is how it looks on our test site.

Repeat the process to move all your products from Gumroad to your WordPress website.
Step 5. Moving Subscription Products From Gumroad to WordPress
Some users sold subscription-based downloads on Gumroad. Basically, customers purchased a membership plan to access downloads.
EDD offers recurring digital subscriptions as part of their Pro plugin which you can purchase from their website.
Alternatively, if you’re selling memberships or online courses, then the easiest way to sell these products is by using MemberPress. It is the best WordPress membership plugin on the market.
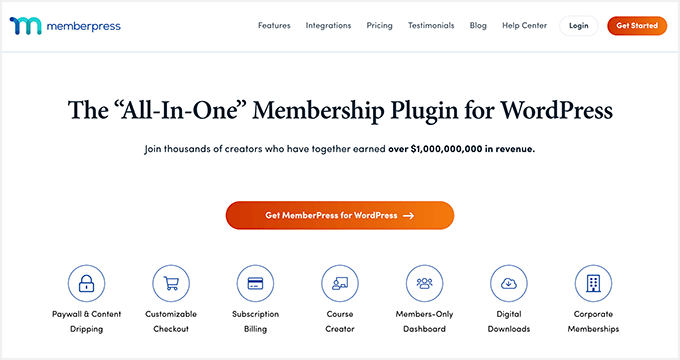
MemberPress allows you to sell membership subscriptions, file downloads, and even online courses.
For more details, follow our guide on how to make a membership website with step-by-step instructions.
Step 6. Choose and Customize Your WordPress Theme
Themes are the design templates for your WordPress website. They control how your website looks to the users.
There are thousands of free and paid WordPress themes that you can use on your website. However, this abundance can be a bit overwhelming for beginners.

To make things easier, you can pick a theme from our expert pick of the most popular WordPress themes.
Once you’ve chosen a theme, you can see our beginner’s guide on how to install a WordPress theme to get it live on your website.
Each WordPress theme comes with a bunch of options that allow you to customize it to your own needs. You can change colors and layout, as well as add your own images and logo.
After your theme is installed, you can use our guide on how to customize your WordPress theme to make it your own.
You can also use SeedProd to create a custom WordPress theme (without coding).
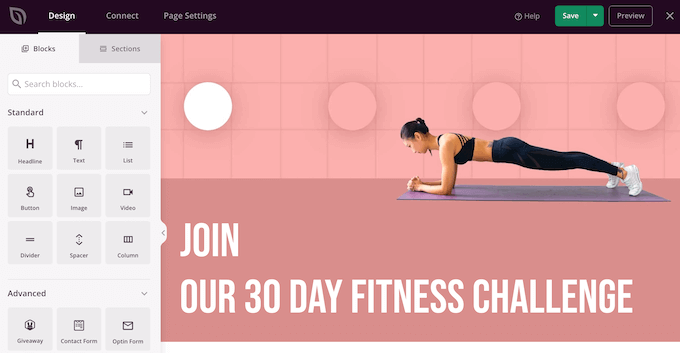
SeedProd is the best WordPress page builder on the market.
It also allows you to easily create any type of landing page, product page, and custom login page using a drag-and-drop interface.
Step 7. Customize Easy Digital Download Emails
Just like Gumroad, Easy Digital Downloads also relies on emails to send users to purchase receipts, account information, and download instructions.
However, since you are now selling on your own platform, you may want to use your own branding with those emails.
Simply go to the Downloads » Settings page and switch to the ‘Emails’ tab.
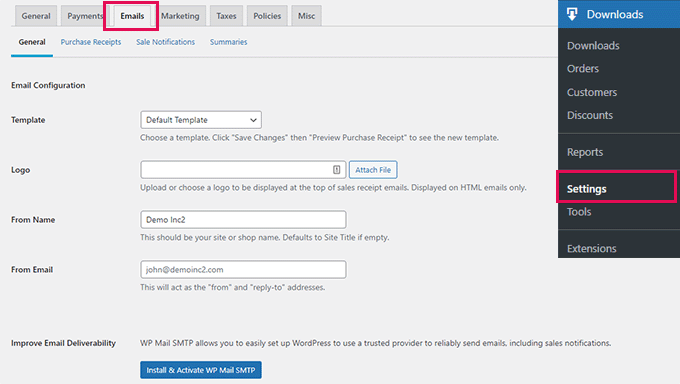
From here, you can provide a logo to be used in your emails.
Below that, you can add a name that will be used as the sender’s name. You can also provide an email address to send the email from.
We recommend using a business email address because it looks more professional. Your hosting provider can also offer a free business email address that you can use.
Lastly, you will need WP Mail SMTP plugin to configure your emails. It ensures that all your emails reach users’ inboxes and not end up in spam.
For more details, see our guide on how to set up WP Mail SMTP to improve email deliverability.
Once you are finished, don’t forget to click on the ‘Save changes’ button to store your settings.
Here is how a properly branded Easy Digital Downloads email would look like:
You can also customize the text of the emails by switching the to the ‘Purchase Receipts’ tab.
From here, you can enter a title, headline, and text for the purchase email receipts.
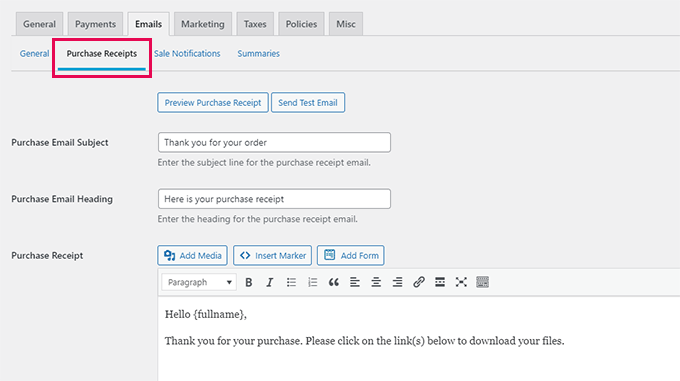
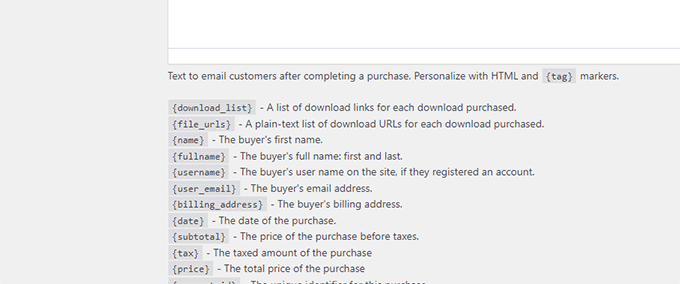
Below that you will find a bunch of tags that you can use inside the email template.
You will be able to display dynamic information such as customer name, their downloads, and receipt by using the tags provided beneath the text field.
Step 8. Growing Your Business in WordPress
A big advantage of moving from Gumroad to WordPress is the ability to use a ton of free and paid tools to grow your business.
Following are some of the must-have WordPress plugins that will help you sell more downloads.
- WPForms Lite – the best WordPress contact form plugin that helps you easily add any type of form to your website.
- All in One SEO Lite – The best WordPress SEO toolkit that helps you get more visitors from search engines.
- OptinMonter – It is the best conversion optimization software that helps you convert website visitors into paying customers.
- MonsterInsights Lite – Allows you to easily install Google Analytics and see how much traffic your downloads are getting.
- PushEngage – is the best push notification software, which allows you to send personalized notifications to users. You can announce new downloads, sale events, or special offers.
- AffiliateWP – Run your own affiliate program and partner with marketers to help you sell more downloads with affiliate marketing.
We hope this article helped you learn how to easily switch from Gumroad to WordPress. You may also want to see our article on growing your business on a shoestring budget or take a look at our ultimate WordPress SEO guide.
If you liked this article, then please subscribe to our YouTube Channel for WordPress video tutorials. You can also find us on Twitter and Facebook.
The post How to Switch from Gumroad to WordPress (Step by Step) first appeared on WPBeginner.

The post How to Switch from Gumroad to WordPress (Step by Step) appeared first on Axnhost.com.
[ad_2]
Article link